Tips Index
I downloaded several MKV HD videos on the Internet, but I can’t import them into iTunes. Is there any solution to make it?
iTunes only supports MP4, MOV, and some other formats. iTunes does not support MKV format, so you can’t import the MKV file into iTunes directly, let alone play it on iTunes or sync it to Apple devices like iPhone, iPad, iPod or Apple TV.
If you are also frustrated about having a hard time adding MKV files to iTunes, you can find the perfect solution in this article.
VideoPower BLUE is a professional MKV to iTunes converter that can batch convert MKV files to popular video or audio formats. What’s more, it has other features like edit video/audio and make MV.
You can try to use the software for free by downloading its trial version below.
Step 1: Add MKV files to VideoPower BLUE
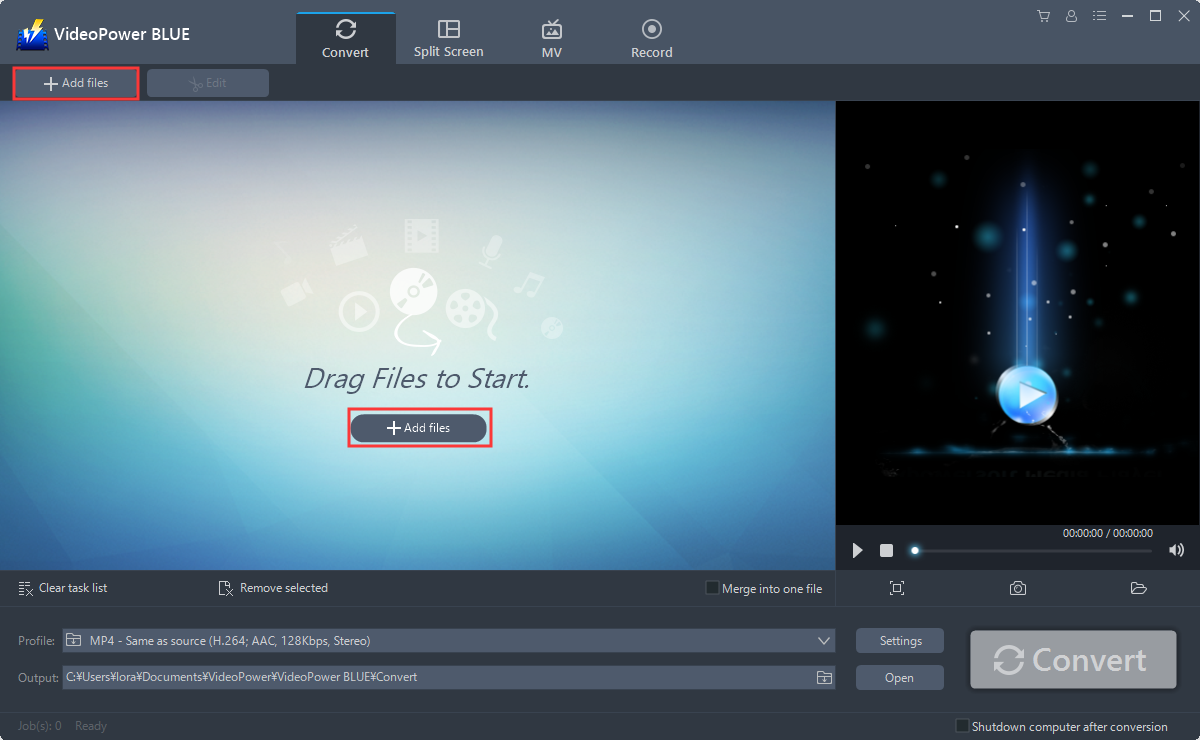
You can directly import the MKV file to the program by clicking the “Add files” button or by drag-and-drop the file to the interface.
Step 2: Edit file before conversion
Note: This step is optional. Users can use the edit function before conversion but if not necessary, skip this step and proceed directly to Step 3 for conversion.
2.1 Edit the video
The imported MKV file is displayed in the list.
Click the “Edit” button on the right side of the file.

The built-in video editor will pop up, with its help, you can adjust speed and volume, trim, cut, crop, rotate or flip videos. Add effects, subtitles, and watermark while adjusting brightness, contrast, and saturation that will make editing conveniently easier.
2.2 Trim the video
For example, you can trim your video as shown below:
1) Click “Add Trim Marker”.
2) Drag the mark as shown below to select the part you want to cut. If you want to select multi-sections, please repeat 1 and 2.
3) Choose “Keep the selected section” or “Delete the selected section” from “Preferences”.
4) Click “OK” to save the setting.

2.3 Adjustments
You can do the following steps to do more adjustments to your video:
1) Rotate your video position.
2) Crop video screen size.
3) Synchronize the video and audio.

2.4 Effects
You can do the following steps to change some effects on your video:
1) Speed – Speed up, slow down, the tempo of your video.
2) Volume – Set sound level.
3) Contrast – Change or adjust the difference in lightness, brightness and/or hue.
4) Brightness – Where you can adjust how lightness or darkness you want your video.
5) Saturation – Adjust the intensity of color in an image.

2.5 Watermark
Add a watermark on the video.
1) Click the Watermark icon.
2) Add text, logo or image as a watermark.

2.6 Subtitle
Add subtitles for the video. You can import external subtitles, or search subtitles for the corresponding subtitles from the Internet.
1) Click the Subtitle icon.
2) You can either click a subtitle saved on your computer or find it online.

Step 3: Convert MKV to iTunes
3.1 Set the output format
1. If you want to change the MKV video to MP4 format, click to open the “Profile” drop-down menu, then choose the format you want from the profile list.
2. Here you can click “Video” and then “MP4” depending on your format of choice.
3. Choose the quality from the list as per your needs.

3.2 Start Conversion
Return to the file list. Click the “Convert” button, then the converted video file will be saved in the default output folder.

3.3 Open saved folder
The program will pop up a window to inform you once the conversion is completed. Click “OK” to open the folder of your saved converted file.

Conclusion:
Convert videos to formats that work on your mobile phone, tablet, TV media player, game console, computer, or web browser with this software.
VideoPower BLUE software can convert all video and audio files into common formats and devices easily. It’s handy and reliable that you can even convert in batches simultaneously while preserving good quality.